|
The non modellers amongst you may not know the glass cloth and epoxy form of skinning. With a little care and a fair bit of elbow grease (effort for the colonials) a very good, totally weatherproof, light and strong surface finish can be achieved.
I have just covered the forward upper decking area of the R using this method as later aluminium litho plate will be stuck to this area for aesthetic reasons. To get a really good finish on a model you could be into three coats being required with a wet n dry rub down between. For my purposes, only the fact that the skinning will toughen and seal the plywood surface is important, so two coats suffice.
Method
Lay the glass cloth over the area to be covered. I used 0.6 ounce per sq yard cloth. Don't worry if all you can get is 0.9 or 1.0 ounce as it will end up at about the same weight. The lighter cloths are more open weave so a little more epoxy is required to fill it, bringing the finished job to about the same weight. 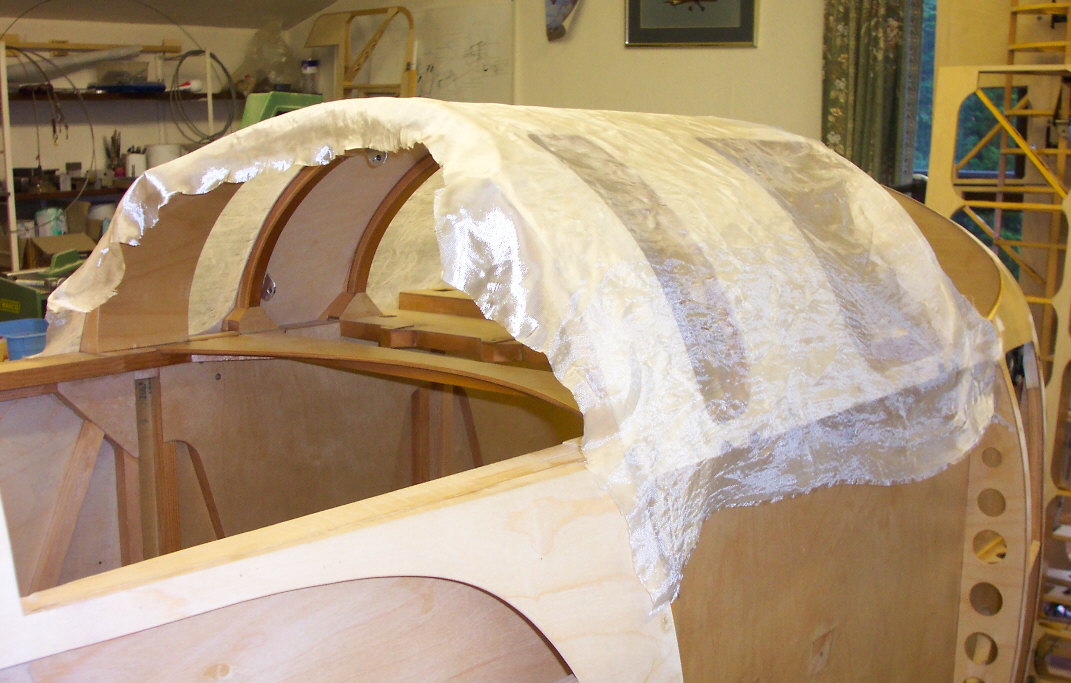 Mix lay up epoxy resin at the correct mix ratio and pour a little in the centre of the cloth. Using an old credit card (or the current one of the wife is even better) as a squeegee spread the epoxy in all directions out from the centre pool.
All whiteness will disappear from the cloth as it turns transparent, indicating that it has been wetted right through. If you have any 'nutserts' take care not to fill them with epoxy! Do not try to mix enough epoxy to do the job in one go, mixed epoxy left in quantity gets fed up with waiting and exotherms. It gets super hot and quickly sets as it boils. A smallish amount at a time, which is poured out on the job quickly so as not to allow the possibility of excess heat build up, is the way to go.
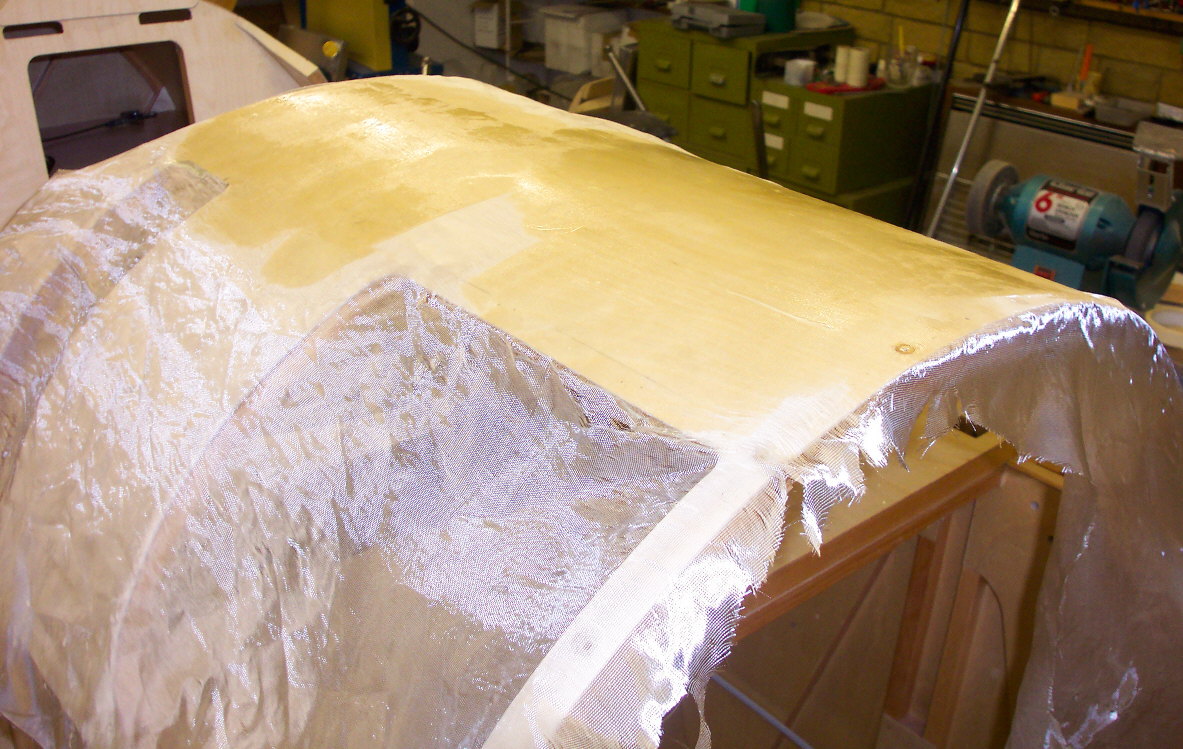
To do my front decking I made four mixes. This could have been cut to three if my quantity estimation had been better.Pay particular attention to the edges of the job, ensuring that the cloth is wetted all the way to the edge (a little beyond doesn't hurt). 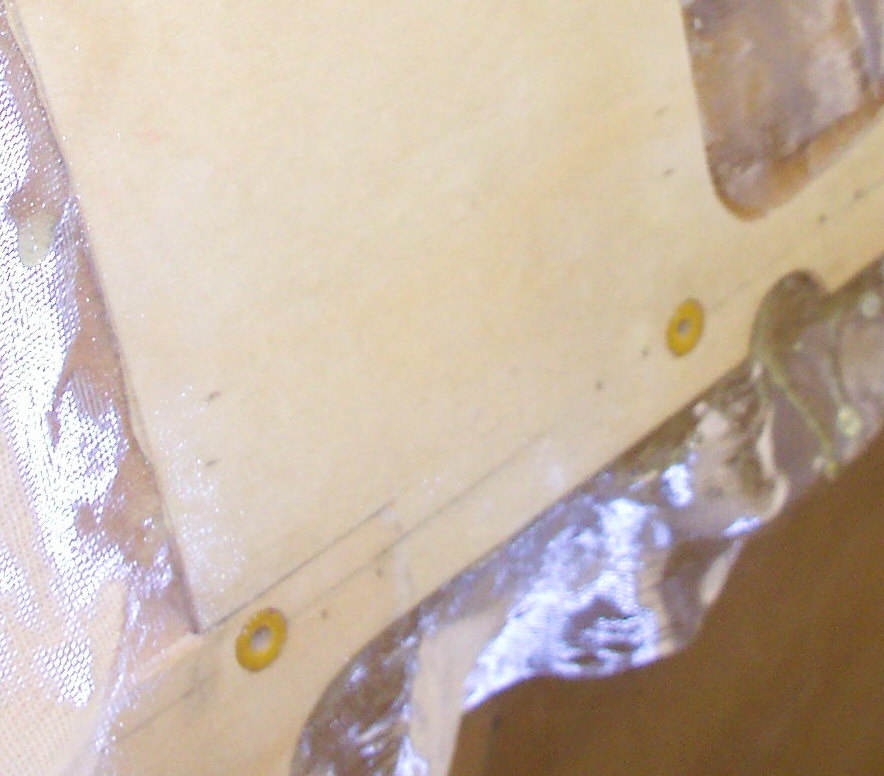 Check the area all over for dry areas, and more importantly 'over wet' areas. The wet areas show up as being very glossy, and are an unnecessary weight addition. Keep squeegeeing them, scraping the excess epoxy off the edge of the squeegee back into the mixing pot. After allowing to cure, trim the edges of the cloth with a sharp craft knife. A sanding block will remove any excess epoxy at the edges. Sand the area all over, removing the gloss finish. Any runs can be scraped down with a sharp wide chisel held at 90 degrees to the surface (you could even use a proper scraper if you have one!) Wipe down with a tack cloth to remove dust. Make another mix of epoxy and apply another thin coat all over. Much less will be required for this coat as the weave of the cloth is already nearly full, and none will be soaking into the plywood surface. A very thin coat should give a gloss fish this time. When cured, flat down and remove dust. Voila! You have a sealed surface which will be happy to accept a contact adhesive to fix the litho plate aluminium. 
The materials should be available from any half decent model shop. If you get stuck for supply contact me and I can point you at a supplier.
Duds
PS A coconut for finder of the most mistakes in the above.
Duds
|
