Flitzer Sport Flying Association


Dud's Tips

Nutserts

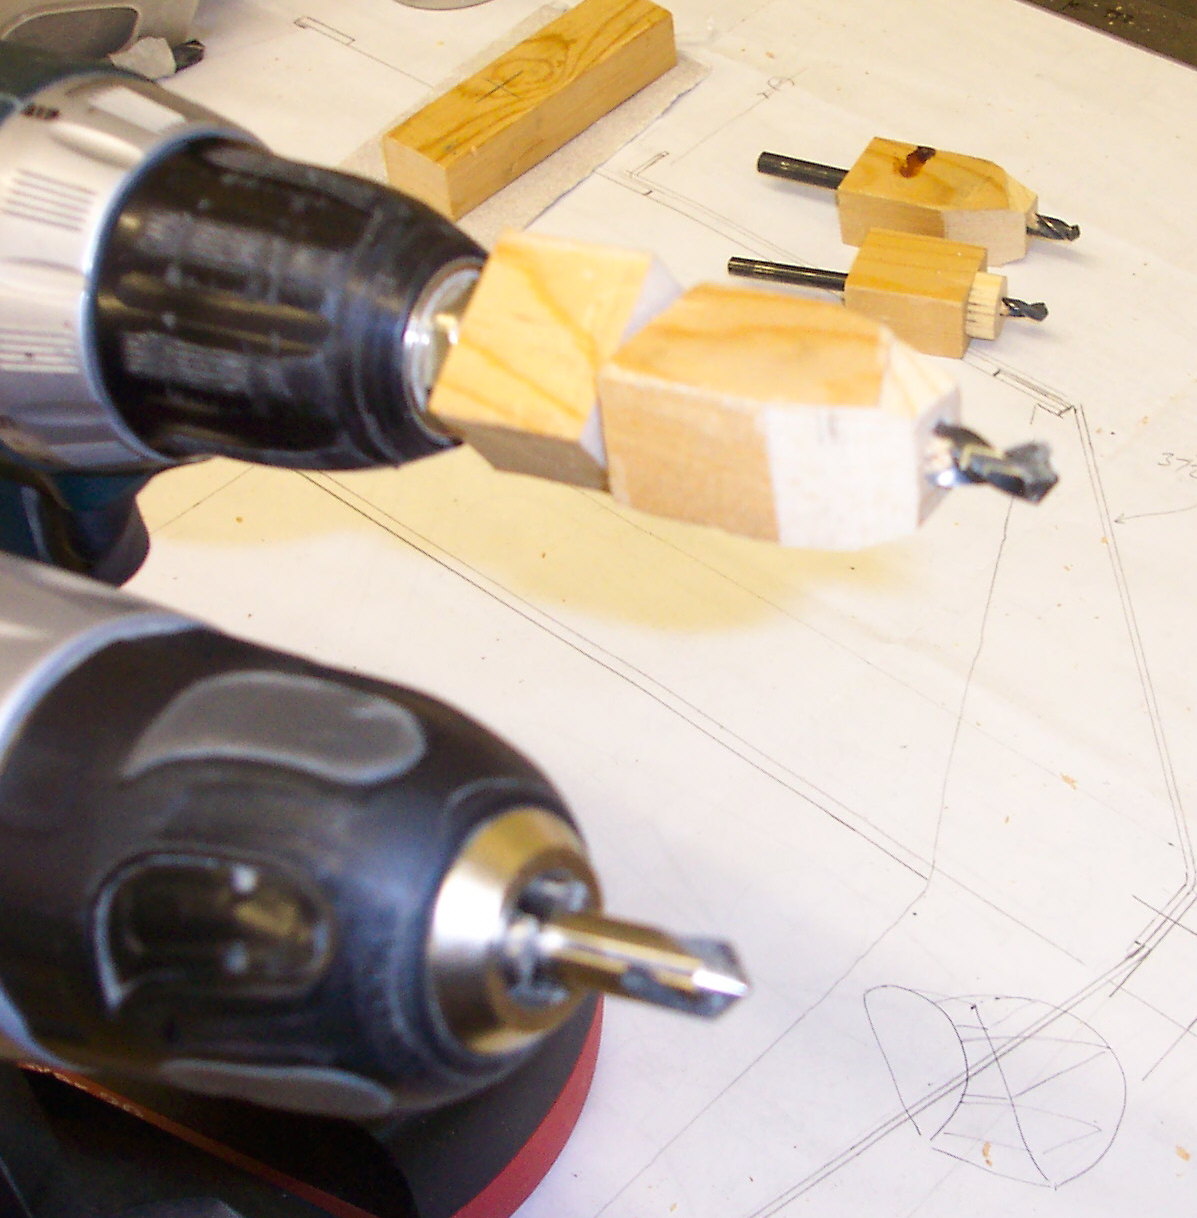
Hi all,

I have just finished making and fitting 86 'nutserts' to the front end of the R. These are made from 8mm (5/16") diameter Tufnol rod. They are eventually threaded to take the stainless steel 8-32 slotted machine screws that will fix the aluminium panels all around the nose area (not the cowl, that is a separate issue as yet untackled).

As the method is effective, easy and cheap I thought I would share it.

  1. Mark out on fuselage required screw positions.

  2. Use centre drill to start holes.

  3. At these positions drill 3mm (1/8") holes to depth of about 15mm. Be careful when drilling against spars that you can get the depth you are seeking with going into the longeron. Use depth stop blocks on drill bit. These can simply be made from scraps of timber.

  4. Countersink the holes with an 8mm (5/16") countersink bit. This will help keep the hole edges intact as you open out the holes with another couple of drill sizes culminating in the 8mm size required.

  5. When down to depth with the 8mm drill bit wobble the drill around a little to make the hole slightly oversize but don't overdo it.

  6. Place rod in lathe and drill in about 3mm (1/8") with centre drill.

  7. Start parting off at about 14mm (0.55"). Before completing parting operation hold a file against the end about to be parted at 45 degrees approx to form a 'lead-in' chamfer. This could all be done without a lathe but would obviously take longer.

  8. Put component in the jig you have just made from scrap MDF or similar.

  9. Use the bandsaw to form 4 shallow grooves along the edge of the nutsert blank.

  10. Mix some epoxy and using a 5mm (3/16") dowel or similar place epoxy in the holes, smearing it around the walls of the hole. Drop an extra little blob of epoxy into the hole.

  11. Tap the nutsert into the hole with a light hammer. When resistance is felt place the hammer head on the end of the insert and press hard. Alternatively, if you can get to both sides a G clamp can be used.

  12. After epoxy has cured clean up end of insert to be flush with surrounding surface. This is easily done with a sharp (no, I mean sharp) chisel and a sanding block.

  13. Drill inserts, again using depth gauge, first to an 1/8" then to the tapping size, which is a #29 drill for 8-32 screws. I know this because that awfully nice chap Chris Bobka sent me a sheet of drill sizes for tapping of American threads.

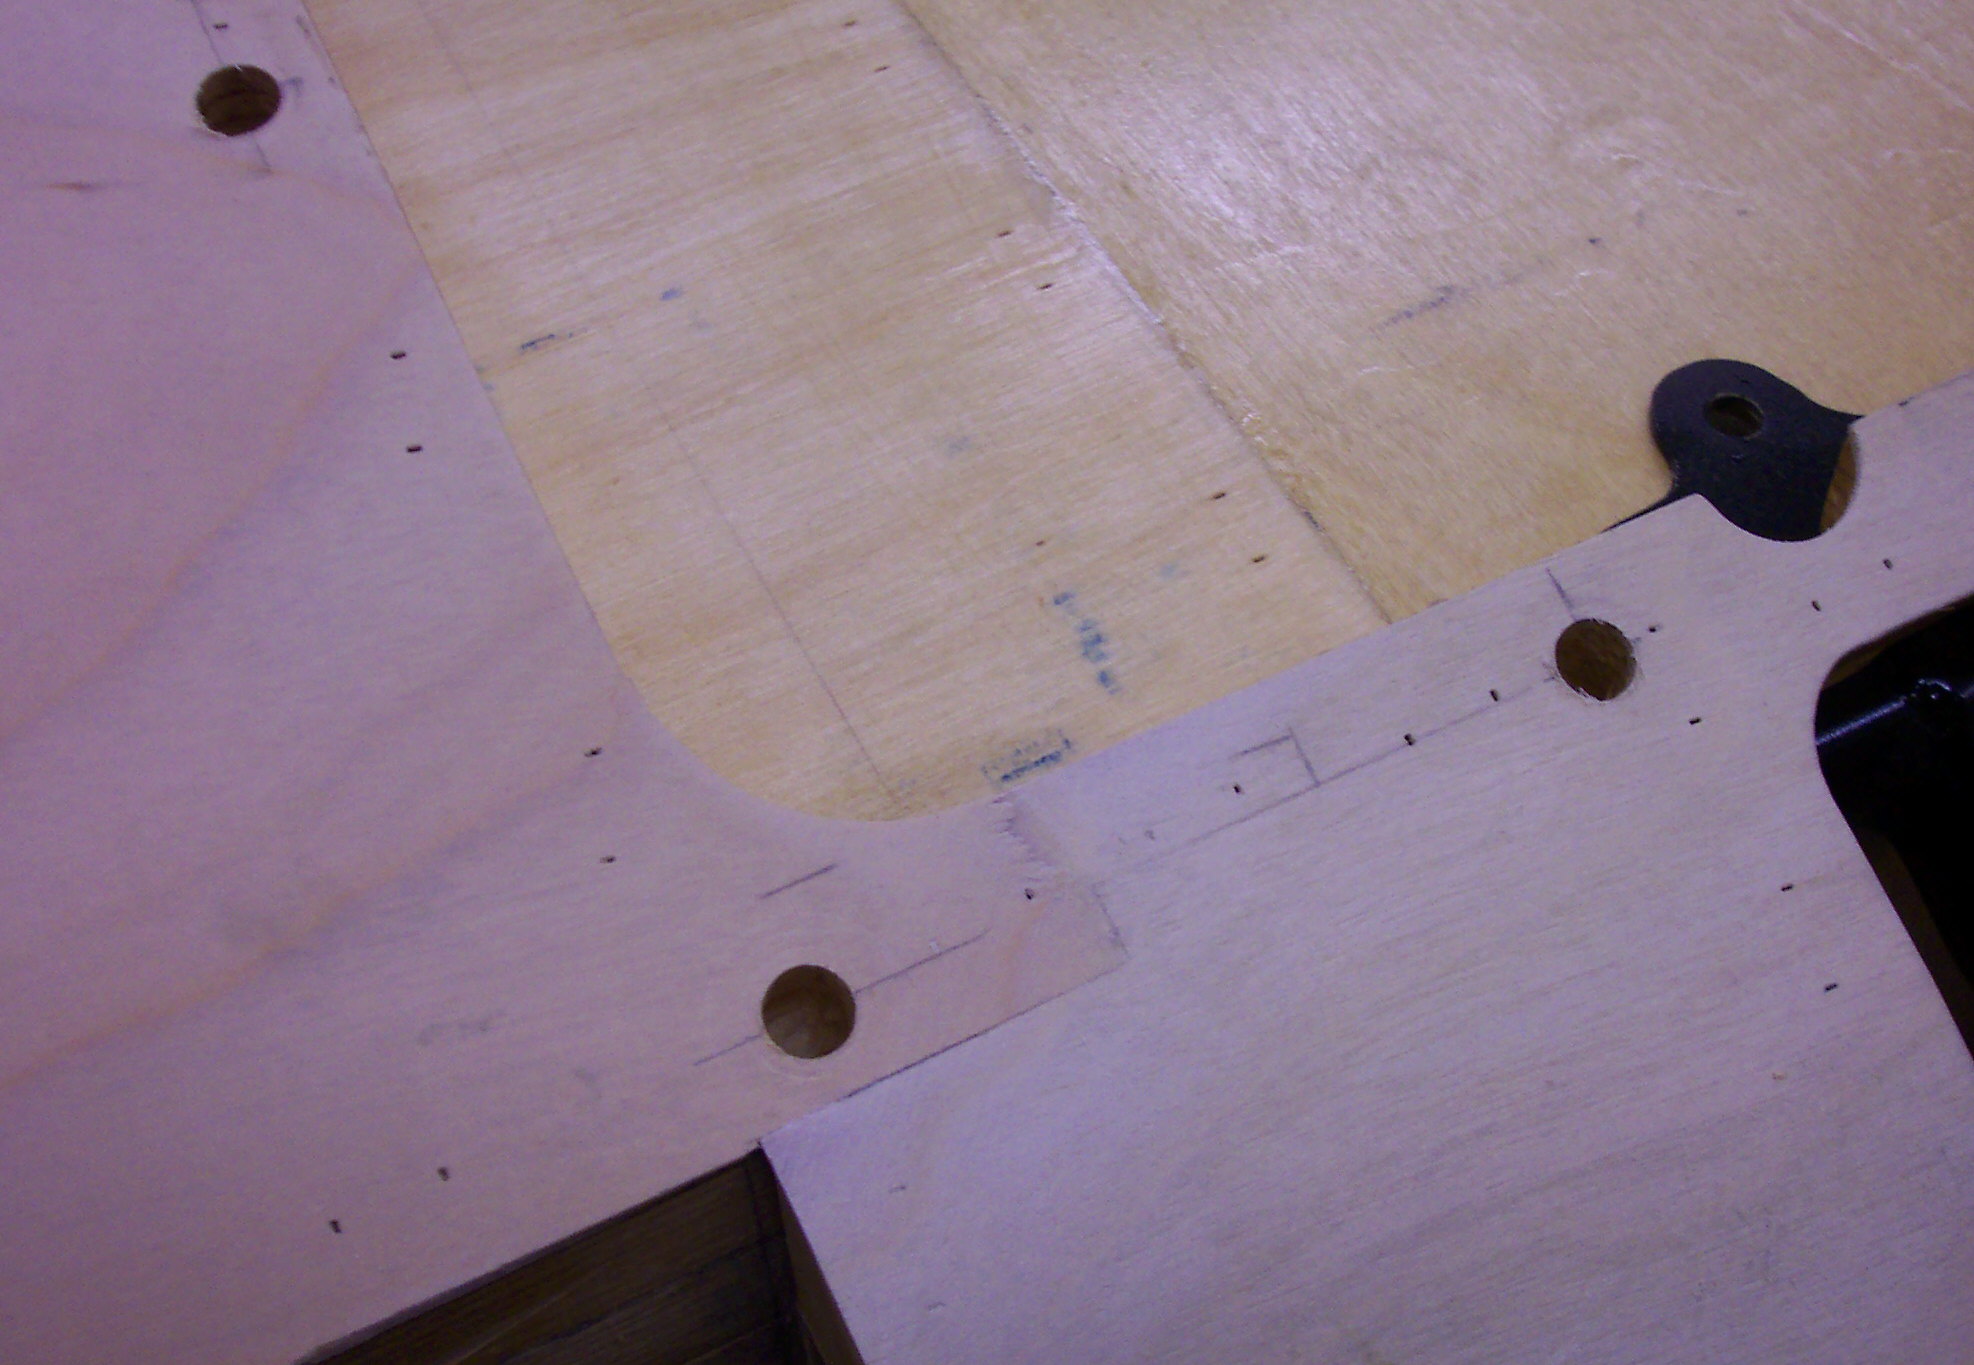
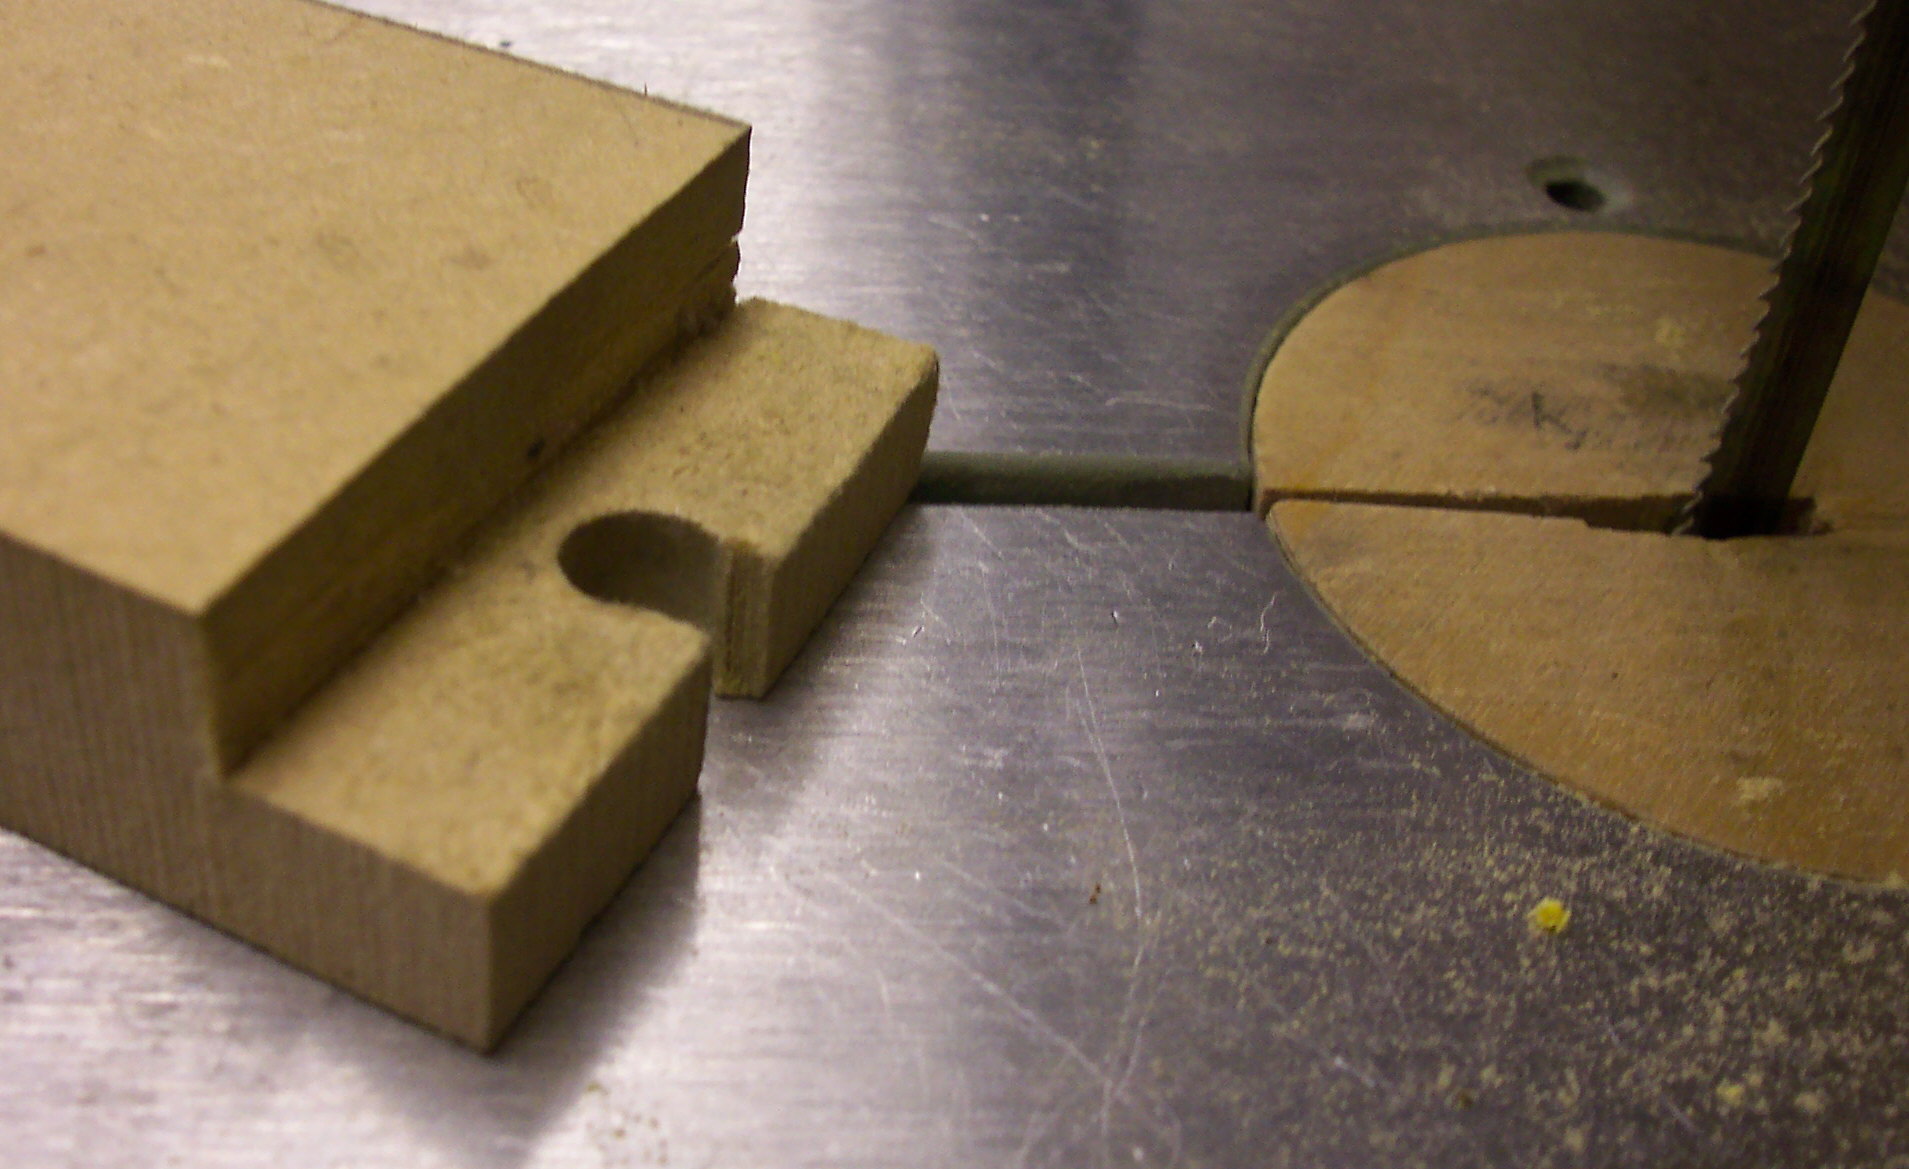
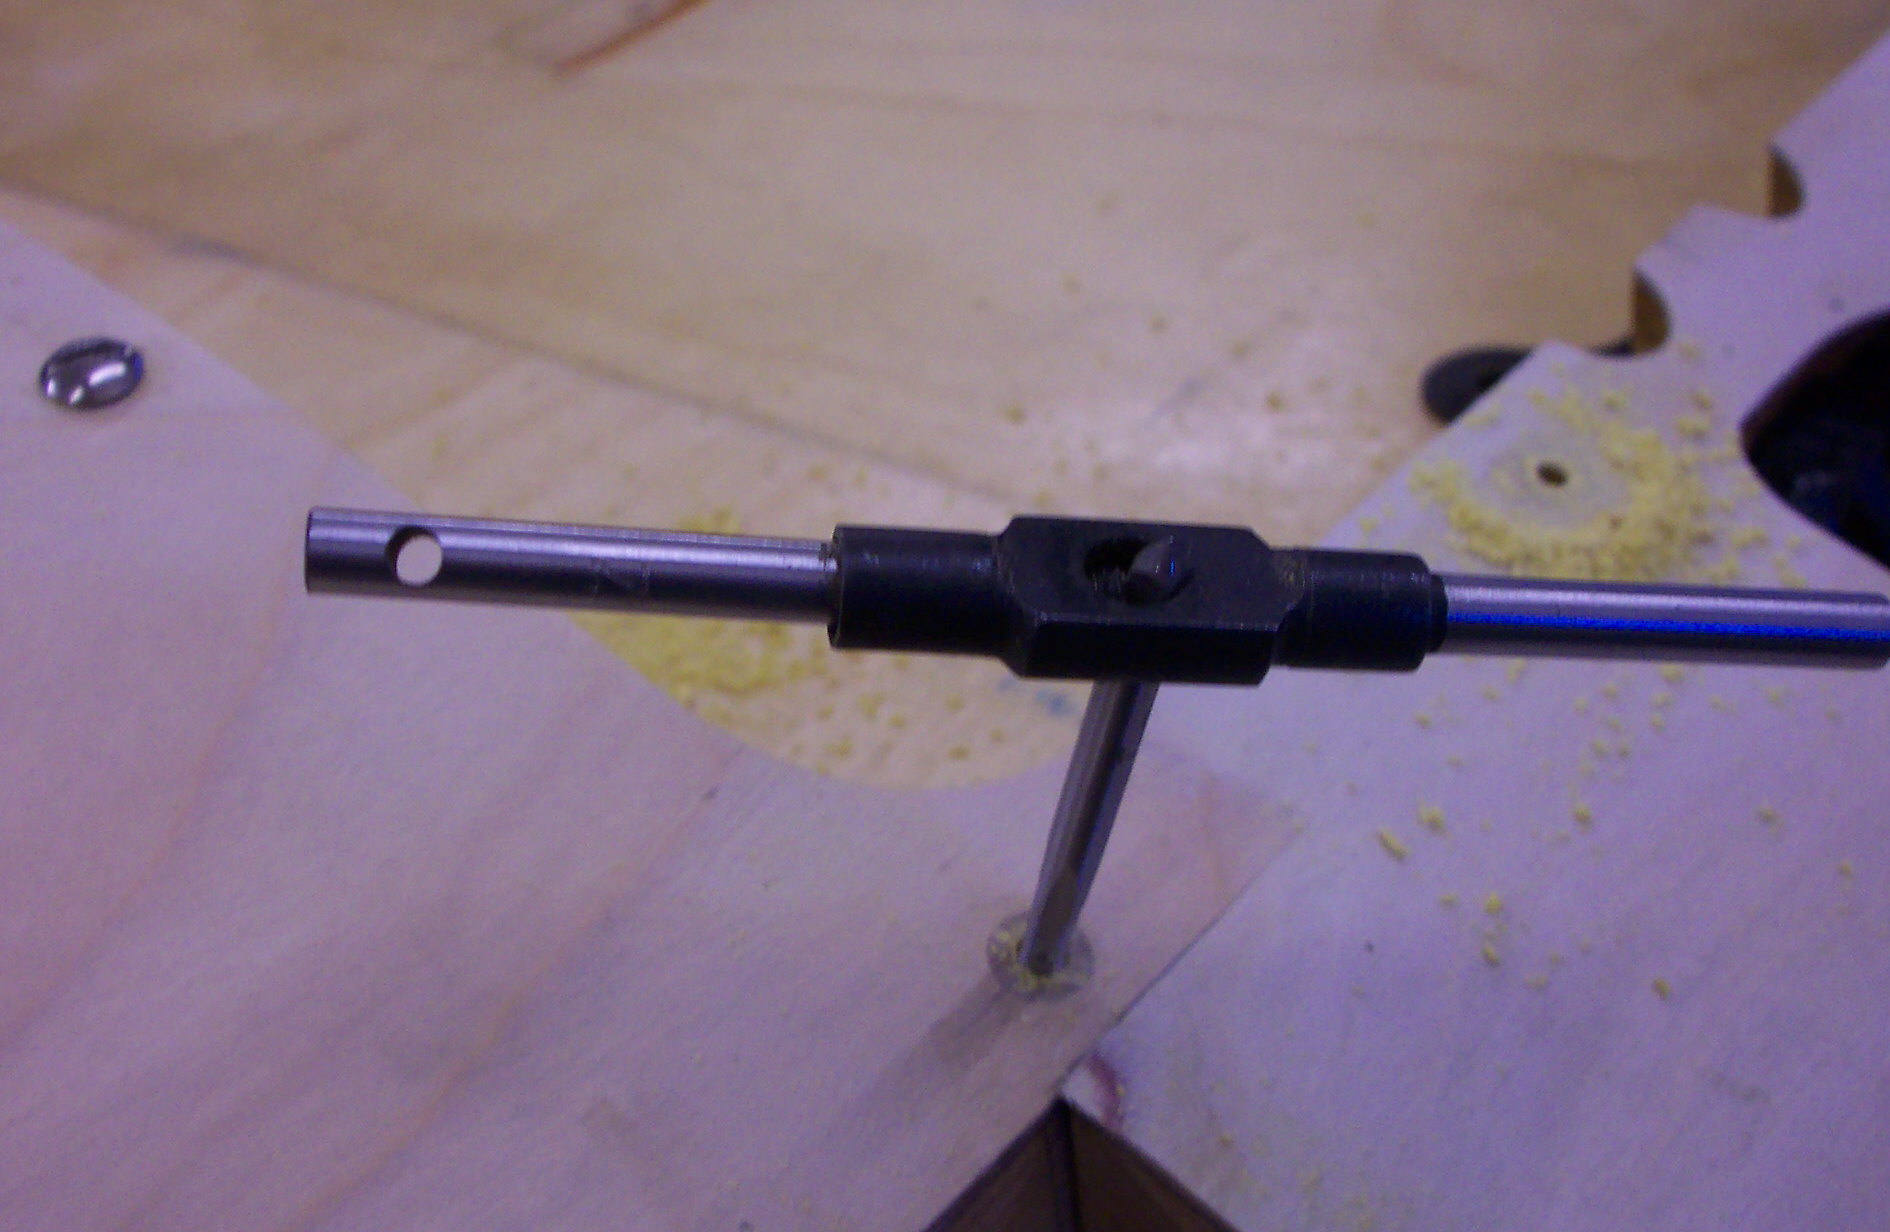
If the measurements are about right, and the amount of epoxy applied is somewhere near, you will be rewarded by the sight of four little jets of epoxy passing up the bandsaw cuts, ensuring the component will be well locked in. It is important of course, to ensure that the hole remains 'blind'. If you do break through inadvertently, masking tape and finger pressure at the right moment will save the day.

The above may appear overly time consuming, but not so. Once you get into the swing of it things progress quite quickly and you end up with a far superior job than a self tapping screw into spruce and ply.

Duds

What is your suggested method for finding and aligning the holes again when fitting the aluminium?

Good question. Pop a screw in a hole and draw a pair of parallel lines away from the edges of it, then put a mark at say 3" from the screw centre for reference is one way. In many instances a piece of tracing paper to make a pattern will suffice.

See also: Hole Finder


Great minds think alike!

I used a very similar method for attaching the cowling to ERIW, except that I machined the nutserts from aluminium rod, pre tapped them and knurled the O.D. to give a key for the epoxy.

I also made 'headed' nutserts, once again pre tapped and knurled on the shanks, for attaching items such as the battery and ignition coils to the fire-wall. These were glued in from the tank side and were of a length such that they were just below the surface on the engine side. This get over the problem having to get behind the fuel tank to fit nuts onto bolts.

Ian Wasey

More Dud's Tips:

[an error occurred while processing this directive]