|
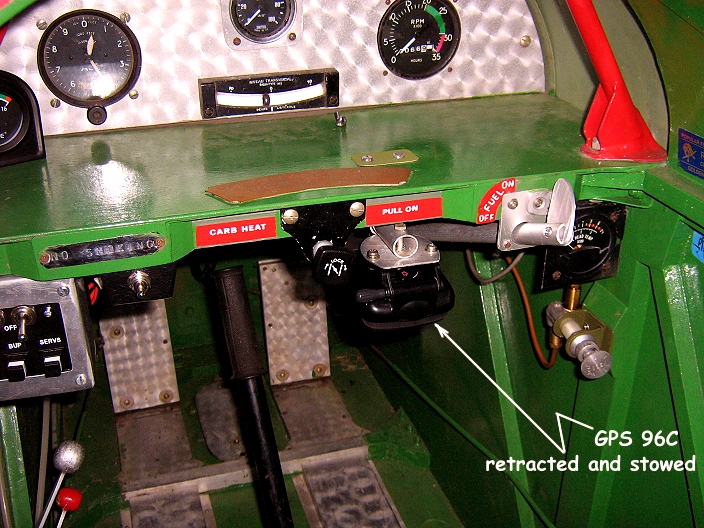
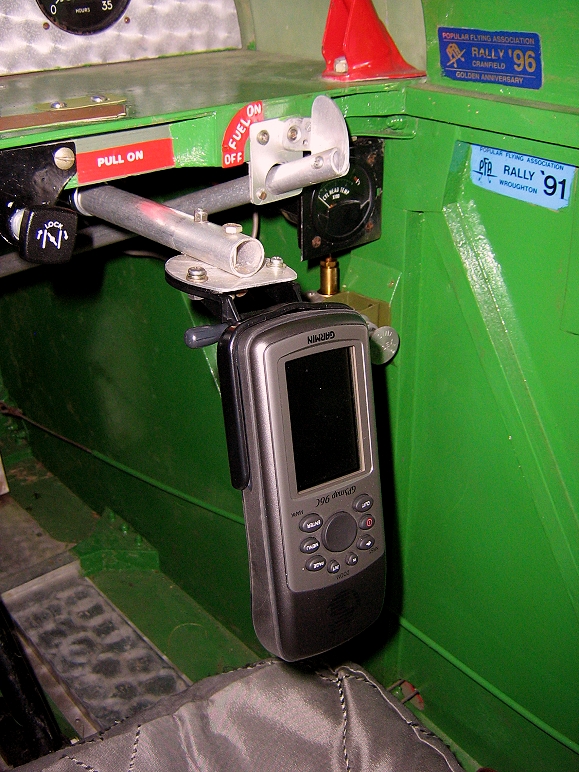
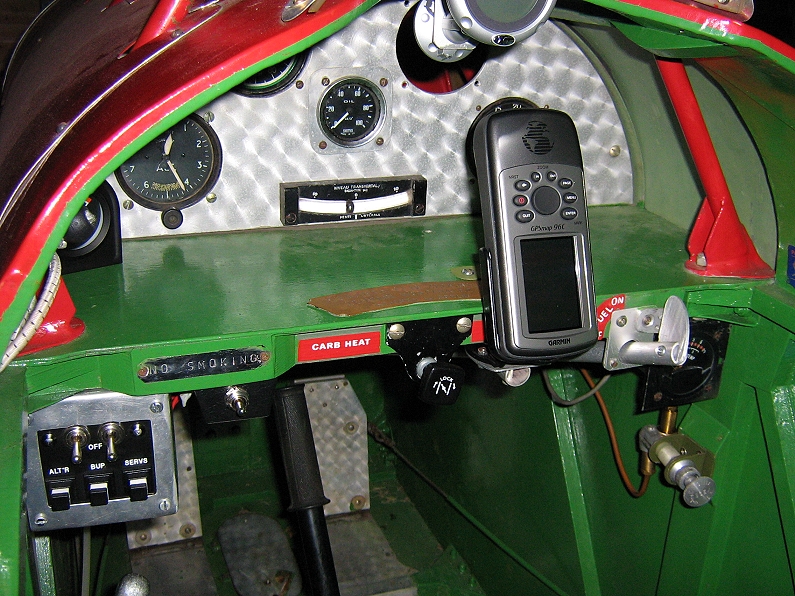
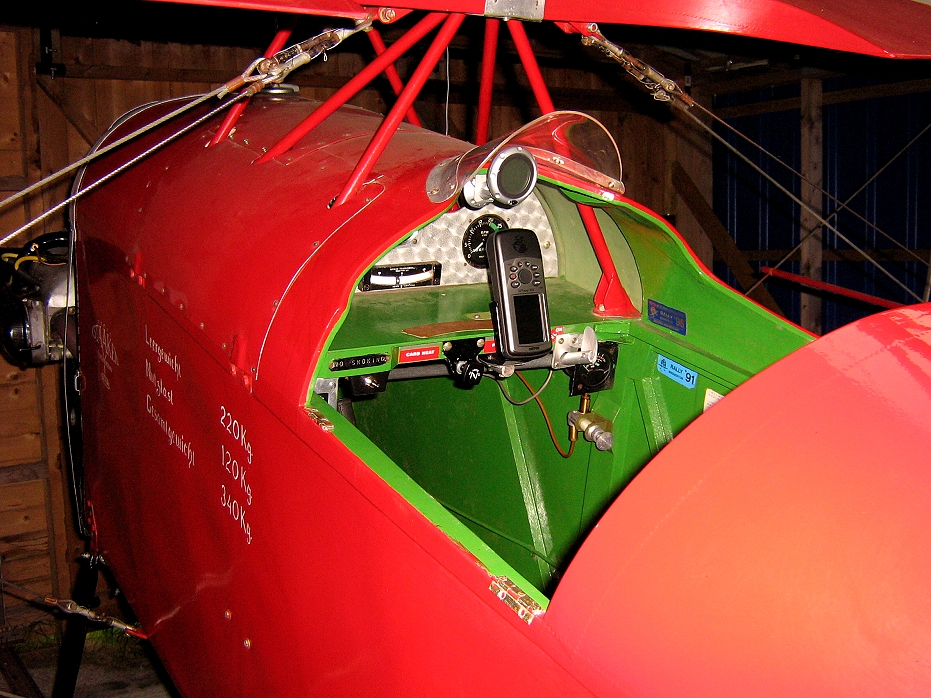
This is the GPS in its locked and functioning position. When seated, all panel instruments are clearly visible to the pilot beyond the GPS. The 1/2" aluminium mount tube slides in and out and rotates through 180 degrees on two commercial brackets from bathroom shower equipment. A wing nut is fixed firmly to a bolt which projects down though holes in the tube with a locking wingnut on the bottom, easily tightened by hand. Note that the wingnut was not inserted in this picture but its hole in the horizontal shelf is just visible immediately ahead of the instrument panel. The wingnut is visible in a previous picture however.
Two small bolts secure the nearer bracket beneath the shelf and two wood screws secure the rear bracket at the most forward point (in direction of flight) on the underside of the shelf, entering the lower instrument panel stiffener/support. The items used in the installation are themselves quite light, the heaviest item of all being the GPS itself.
|