
 |
 |
||||||
| 1 | 3 | 4 | 5 | 6 | |||
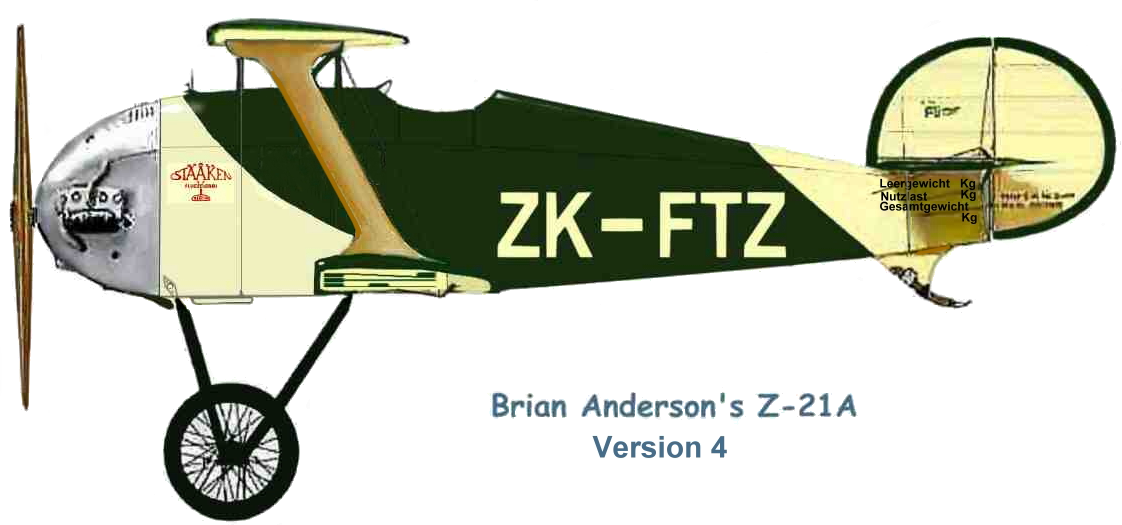
September 25, 2005 - Bent Fuselage
Bent, but not twisted. Reached the point of having to pull in the tail of the fuselage today. Reinforced the 4 longerons to keep them straight, wrapped "super absorbent cloths around the required bends between Sta 3 and 4, and poured boiling water onto them. Let them soak a while then gradually twitched in the sides. After about an hour I added more boiling water and twitched some more.
Thankfully the sides pulled in nicely, with very little strain, so now I'll leave it all overnight to settle and dry out. Next step, add the rear fuselage struts to tie it all together.
Brian

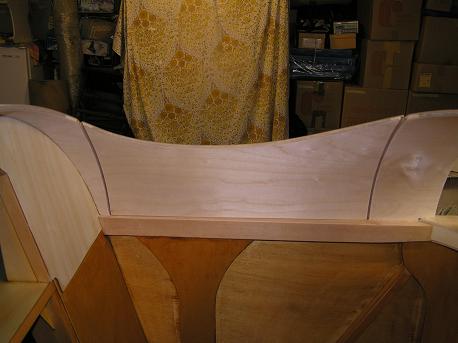
September 25, 2005
I set the forward bows on the fuselage for the attached photos. They will round out a little more at the top when the sides are pulled into the correct position, but even so I think they look fine, so it is only a question of the look of the firewall. For the moment I will leave things as they are and consider later whether the firewall shape needs a bit of modification. Another possibility is to shave off a little at the "shoulders" of the firewall to make the rounded top more pronounced. It would only take about 1/8" on each side.
I'm sure I don't need the extra height - - at only 65 Kg.
Brian

| 
|
October 22, 2005 - Into the Metal
The attached pics show some progress. And, that has forced me to begin doing some of the metalwork. Here I'm drilling the tailplane fixing holes, to then scribe through onto the new bracket underneath.
Because I have chosen to build the round tail, and hence the sternpost is wider, some of the metal fittings in the nice laser cut kit will not fit. Hence I have to fabricate new parts from the offcuts. I also found that it would be preferable for a number of parts to have no holes pre-drilled. Geting holes aligned after bending the part, and taking into account build tolerances etc, - - at least in my case - - does not work, so I have had to make some replacement parts. Scribing through and then drilling at least gives me an even chance of getting holes to align.
You may gather - - I'm not a fan for metalwork. But, I am starting a MIG welding course next week. Could be useful.
Brian

| 
|
November 2, 2005 - One Thing Leads to Another...
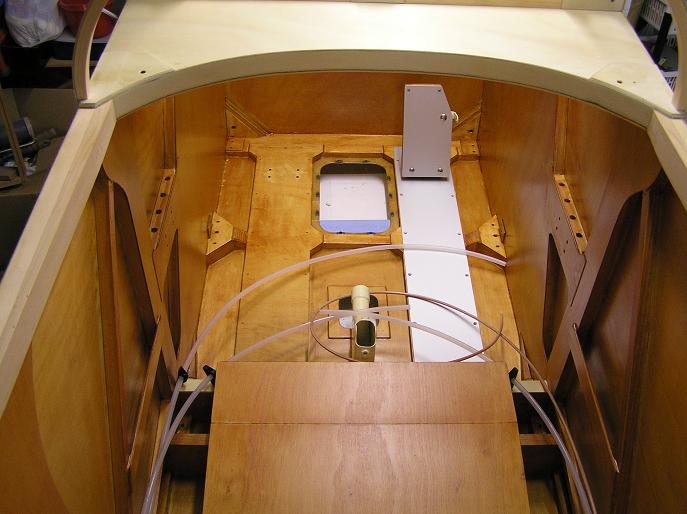
To complete the basic fuselage structure I needed to position the truss assembly for the dual pulleys. Hence I had to buy pulleys to do the job to get the location right. Could only get 3" pulleys, but they will do the job nicely.
A consequence though is - - the steel mounting bracket will no longer work as it is too small. [The pulleys also use a 5/16" mounting bolt.] So, rather than try to make a new steel bracket I figured out an alternative using some aluminium channel section. It might have been a little easier to start with the right size channel, [about 34mm inside dimension], but I found a piece of scrap aluminium door section that would work nicely. [It is amazing how much good stuff aluminium joinery manufacturers throw out in their scrap bins.]
The photo of the bracket shows the finished shape and the mounting arrangement. Because the pulley centre is now not directly in line with the vertical centre of the truss I have extended the bracket so that it is also located by a small bolt through the fuselage cross member [built out a little]. The control cable alignment is still perfectly fine.
A separate cable retainer is not necessary because of the shape of the cut-out in the back of the channel, but I can also fit a small clevis pin across the bottom under the pulleys.
The photos show the arrangement far better than a lengthy description.
Brian

| 
|
Brian,
A very nice solution, in fact probably superior to the original design.
Cheers,
Lynn
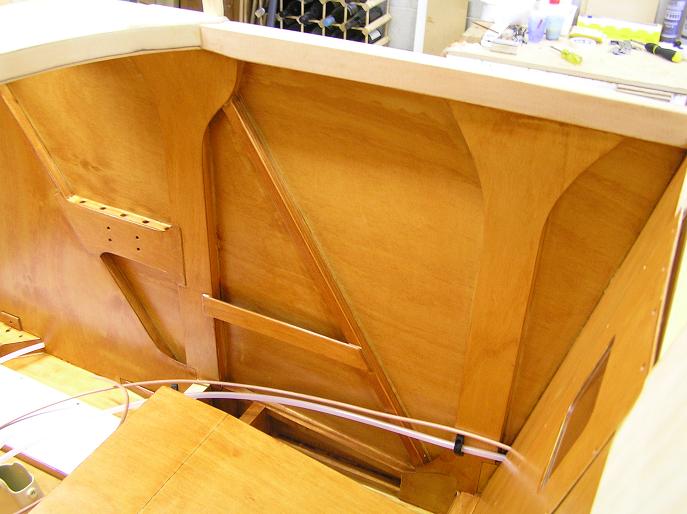
November 27, 2005 - Fuselage Framework
Progress has been a bit slow recently, but I have the fuselage frame virtually complete. Just finishing off a number of little things - - like rudder pedals, before fitting the bottom skin.
Brian

| 
|
December 15, 2005 - Hanging Loose
The rudder that is - - - first time on its hinges.
Used the eyebolt hinges and that has worked out well. Easy to get everything aligned properly. And, I like the shape of the round tail.
Next step - - to get the elevator hung too - -
Brian

| 
|

January 22, 2006 - Fuselage Framework
We now live in one of the pre-eminent wine growing areas in the country, so it is - - - sort of - - - appropriate - - -
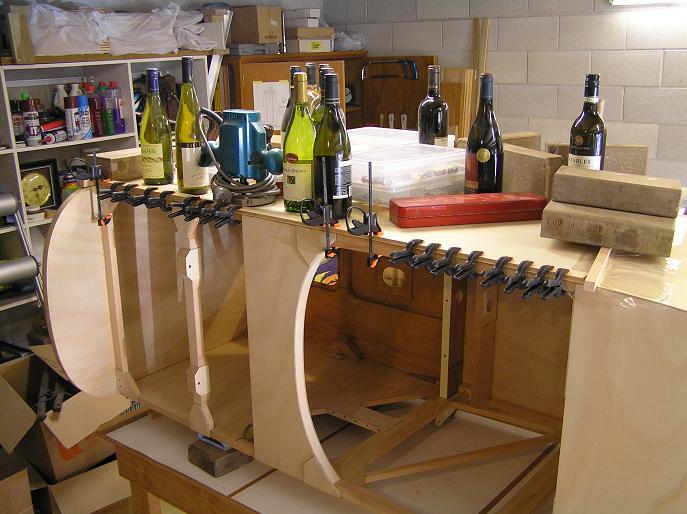
Over the last week or so I've been gluing the ply skins on one side of the fuselage. This morning as I was gluing one of the skins in place I needed a few more weights to ensure the ply was making contact with the fuselage framing. Used all the heavy things I could find, then looked at the wine rack in the corner. Well - - ideal for a bit of distributed weighting.
The trick will be not to drink the wine too fast so I always have some available to use for strategic weights as the building progresses. Then, of course, remember to wait until after the gluing before opening a bottle for a little refreshment.
Brian
June 1, 2006 - Build Progress
Just to show that there is a little progress I attach these photos. Have to say that the photos seem to enhance the look after varnishing. It looks better here than in real life.
I tried engine turning on the aluminium and gave up. Decided to get the parts anodised instead, to match the access covers.
Brian
 |
 |
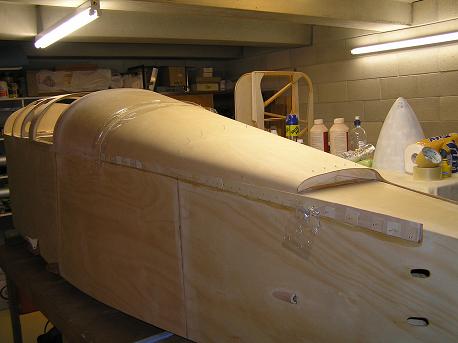
August 13, 2006 - Closing In
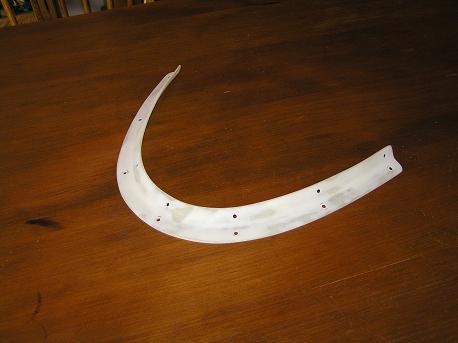
Some visible progress on the Fuselage. The door is finished ready to be hinged. Checked the elevator cable lengths and the exit holes in the rear fuselage, then decised it was time to close up the fuselage.
Thankfully the deck formers were OK and the bend worked out pretty good. It is hard to know how it will go until you nail it on, as it is impossible to hold it all down at once by hand to check the fit.
Brian
 |
 |
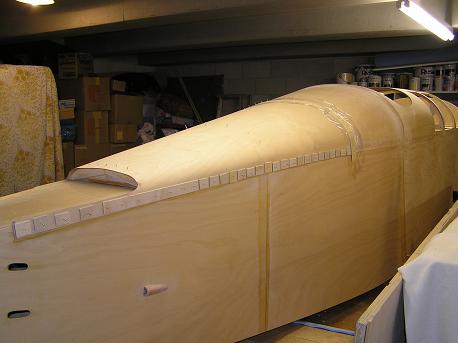
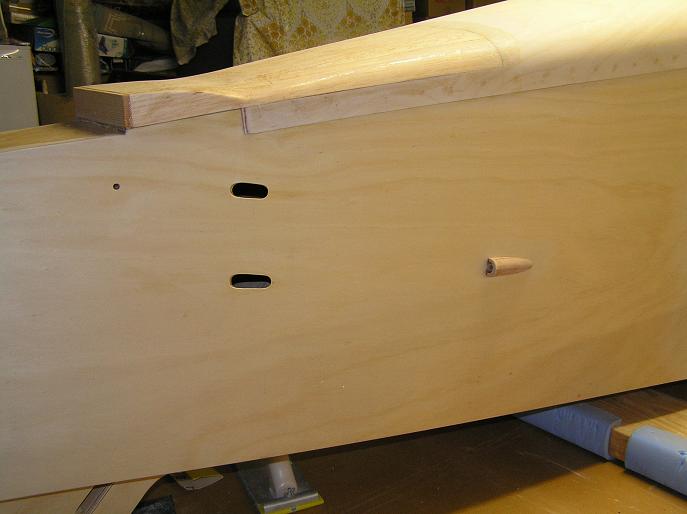
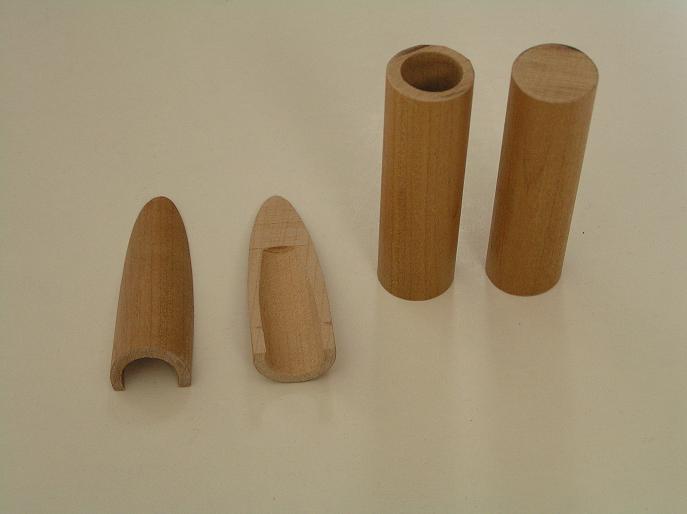
August 25, 2006 - Easy Cable Shrouds
I have been thinking about how to make nicely shaped cable shrouds for a while, and I think I have the answer.
Take a short length of hardwood dowel, say 2 3/4", and 7/8" dia. Bore out the centre to 5/8" dia and a depth of 1 3/4". Saw the dowel on an angle - - - and voila !! They are very light, even cut from hardwood dowel.
See the photos. Shrouds for the fuselage exits being made, and the rudder cable shrouds in place.
Note also the balsa fairing on the fuselage top directly ahead of the tailplane. The plans are not very specific about what to do here, but this seems to work and it merges nicely with the tailplane LE.
Brian
 |
 |
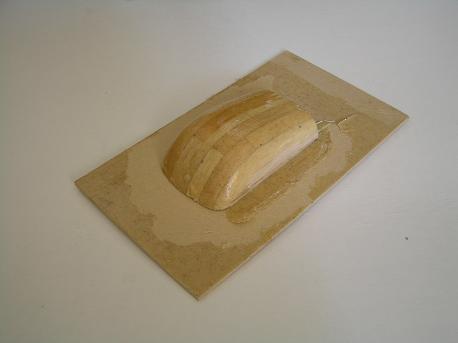
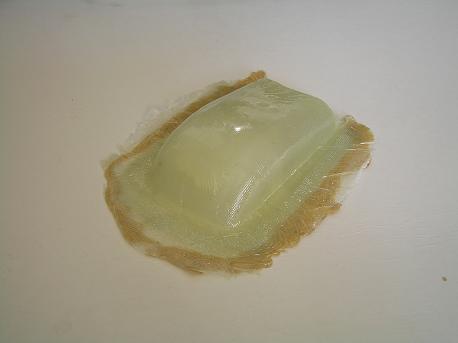
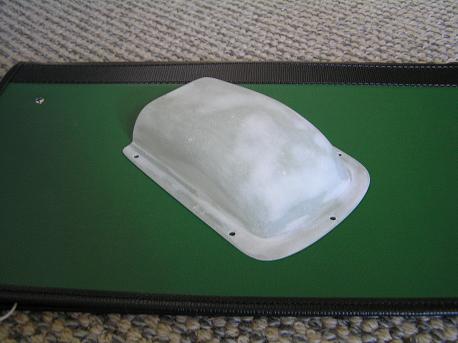
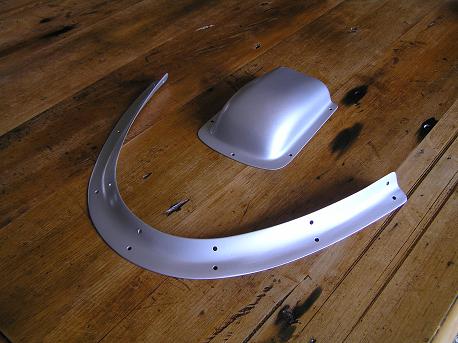
Because I am using a 3" pulley on the control stick torque tube there is a bit more stuff sticking out into the breeze in my plane. I made a nice shroud to fit over the bottom fuselage cut-out and cover the pulley.
Successfully formed a windscreen too, and then made a frame to support this.
Well - - - they look like aluminium, but they're not. At a casual glance they will look exactly the same as the anodised access covers on the bottom of the fuselage.
Sacrilege, I know, and I expect I might get a call from the BAA police at any time, but I am much more comfortable making these things from a bit of glass fibre and resin, than trying to beat the heck out of a piece of aluminium.
Brian
 |
 |
 |
 |
 |
 |
|
|
||||||
| 1 | 3 | 4 | 5 | 6 | |||